
Date Range is a tool that simply helps measure date/time intervals on the chart. The Date Range is drawn by two points in order to make up a square.
To add Date Range to the chart, click its name or the icon on the Drawings Panel. Specify an initial point (bottom/top) on the chart and then drag a pointer to form a square. Specify the second point to fix the range position
Note: To cancel drawing, press ESC
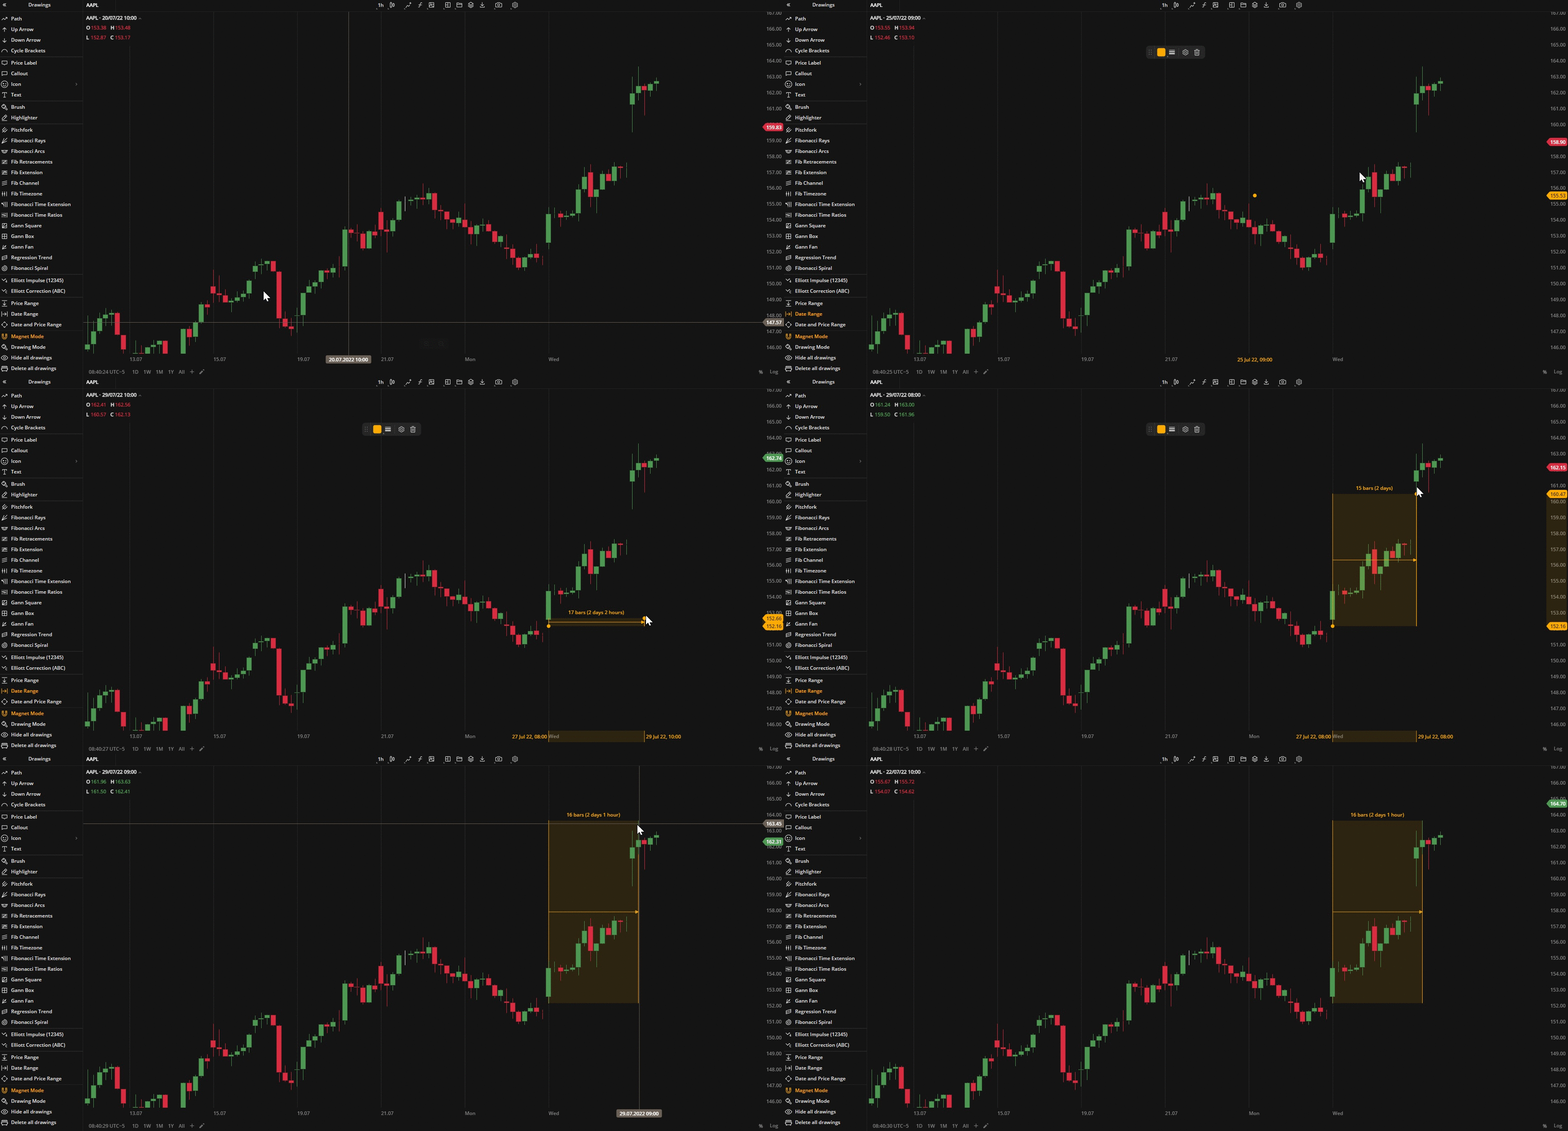 Date Range
Actions with the Date Range
- To edit the Date Range, drag it by one of the points.
- To move the Date Range, drag it by its line to where you want it on the chart.
Note: To open the settings window, double-click a line on the chart
Date Range Toolbar
| Color. In the Color section, you can change the color of the Date Range background. The slider at the bottom is intended to set transparency of the color. To create a custom color:
The custom-created colors are added to your palette. To remove a custom color, drag it out of the palette. |
| Weight. In the Weight section, you can set the thickness and style of the Date Range (currently, only dashed style is available). |
| Settings. A set of parameters that are described in Date Range Settings. |
| Lock. Locks the drawing position. The figure cannot be moved or edited on the chart. |
| Delete. Removes the Date Range from the chart. |
 to open the color picker
Note: To delete a Date Range, you can also press the Delete or Backspace button on your keyboard
Date Range Settings
- Coordinates. The coordinates of two points of the Date Range that you can specify manually by filling out the values for the prices, dates and time.
- Style. In this section, you can set a color and style of the Date Range (middle line, top border, bottom border). As well as you can set a color or turn on/off displaying of the background.
Click Close to apply the settings.
Note: At the bottom-left corner of the window, click Restore Defaults to reset the settings